


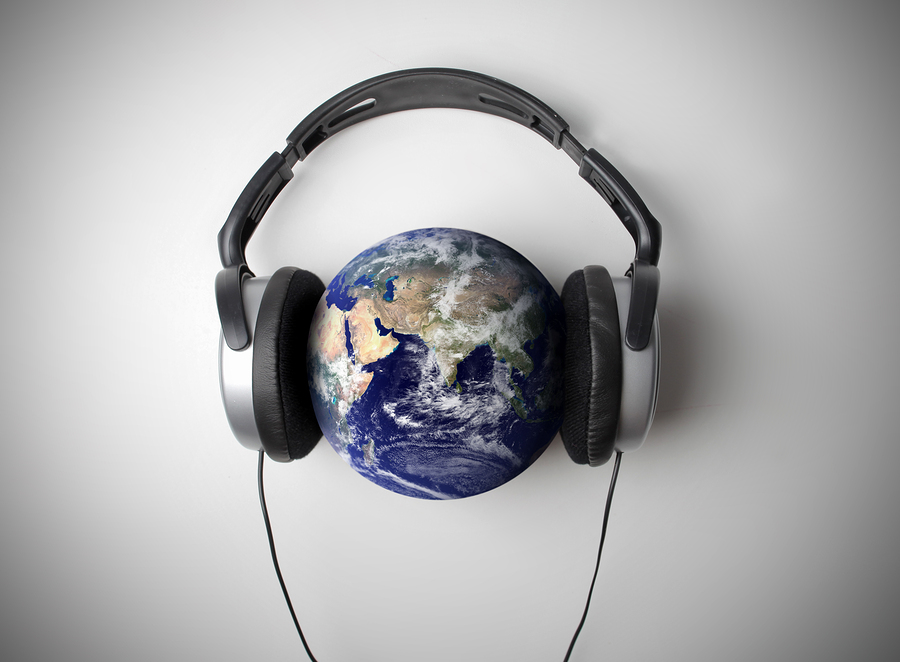


 Want to sell your music online? As an indie artist, YouTube should be one of your best friends. Here are some great tips for editing YouTube videos.
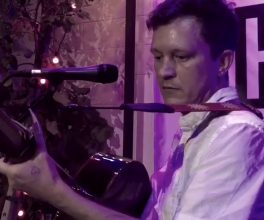
Say you’ve shot a music video or you have several short videos you want to make into one. It’s a good idea to start with a shorter video(s) of around two minutes, although you will be able to shorten all your music videos using YouTube’s Video Editor.
Longer videos, such as YouTube’s maximum resolutions of 1280 x 720 pixels (which is a 16:9 widescreen ratio) will take a longer time to upload. Your music video cannot be larger than 1Gb in size and 10 minutes in length (except for certain paying users). YouTube accepts most video file formats, WMV, AVI, MOV and MPG.
- Create your YouTube Channel. First things first – you need to have a YouTube account and then create a YouTube Channel. This just takes registering an account, using your band’s name for instance, and then clicking “My Channels” on the left hand side of your account. On your channel, you can upload videos, music, pics – and you can even include bios and info on your YouTube page.
- Consider editing on your computer first before uploading your video. YouTube provides great editing software for fine-tuning, but you might want to consider using your own editing software first to get your video to something like how you want it, before uploading it to YouTube. Most computers come with video editing software such as Windows Movie Maker, bundled with Windows, or iMovie for Mac. Linux has Advinimux and Kino, which are also free and easy to learn and use. Editing your video first will make it easier in the long run to edit further right on YouTube – like reducing the length of your video before uploading for instance.
- Check out YouTube Online Editor. After you import your video, you can use the YouTube Online Editor for all sorts of fine-tune editing. Importing your video is easy – just click import video and choose which video you want to import. Then, once it’s in there, you can then use the online editor. When you fire it up, you find all your videos on a panel on the left. Click on the video you want to edit and add it to the time line. Press the edit button. Now you’re ready to edit.
- Shorten your long videos. Remember, the shorter and tighter your videos, the more chance your viewers will watch it all the way through. Less is more, as the saying goes.
- Do a mash-up of several different video takes. Say you’re feeling creative and you have several short videos you want to make into a long video. You can add more than one videos in the same timeline. This is a fun experiment to try, and can result in very entertaining and even artsy videos.
- Consider what soundtrack you’d like to use with your video. You can keep your original soundtrack, or you can upload your music or another original soundtrack to replace what you have, or you can replace your soundtrack with something from YouTube’s audio swap library. Keep in mind you can only use one song at a time and it completely replaces the original soundtrack.
- Try adding annotations – those little boxes that will pop up for when you want to make an artistic accent – or even correct a mistake, such as: Sorry, I meant to say ascending scale instead of descending scale (this is handy especially if your video is for music instruction, which lots of musicians also add to their band’s YouTube page). But annotation balloons are also fun for music videos. You can add captions and subtitles too.
Finally, give your video a title and publish it. It’s that easy.
Comments
No comment