


Welcome to the second installment of SongCast’s “Building your online musical presence.” If you missed the introduction last week, give it a read before we jump into Part 2. In this episode, we’re covering the biggest piece of your web presence: your website. Way back in 2015, I wrote about how your Facebook page is not a web presence and suggested that you need a web presence that is “agnostic” — in other words, one that is visible to the general public and doesn’t require a login. In that article, I listed some options you have for creating that website. Now, I’m recommending you don’t waste time with options and simply use the best-in-class solution for making a website: Squarespace
A caveat
Squarespace is sophisticated but simple to use. You don’t have to know any code but you do have to be prepared to do some work and, most importantly, some experimentation. Squarespace templates are incredibly flexible but they are templates. Accepting that you’ll have some limitations will actually free you to focus on what you really need. Remember my admonition from the introduction to this guide:
Our web presence isn’t a mad work of art. It can (and should) be creative but it is really an answer to the questions: Who are you? What do you do? Where will you be? A web presence is the solution to a common problem. As such, there are many technical structures and services already available to solve that problem.
What Squarespace is
Squarespace is a complete host plus content management system plus domain management plus analytics. This means you don’t have to worry about buying your domain name in one place, buying hosting services somewhere else, finding software to install on that host, getting Google Analytics to add to that software. Squarespace does it all.
Now, there are many others who do this: Wix, Weebly, SiteBuilder, WordPress.com, and many more. You don’t have to believe me that Squarespace is the best. You can choose another platform and vaya con Dios. I’ve been building websites for twenty years (for real) and I’ve used all of those platforms for myself or clients and I can tell you that in technical terms (with the exception of WordPress), they suck. WordPress.com is great but it’s too limited for what you want to do.
This guide is about the best-in-class tools for solving the problem of creating a musical web presence. We don’t have the space to discuss all the exceptions you might want to use. Wix, Weebly, and SiteBuilder are loaded with technical problems from speed to the ease of managing your domain name (Just had a client jump through WAY too many hoops to free his domain from SiteBuilder. What should have been a one day transfer took almost two weeks.) WordPress.com requires a lot of imaginative work-arounds to function how we want for a musical site. Its open source, stand-alone sibling WordPress.org requires constant vigilance to run updates and protect from spam and even more hacks to make it work perfectly for you. (If you want a longer description of the time debt WordPress creates, read this.)
If you were building a site to promote your writing, we’d have a different discussion (although, I’d probably still push Squarespace). But this is a guide specifically for musicians building a complete online presence and Squarespace is the best for that purpose.
Squarespace, too, has amazing 24–7 customer support. This alone is worth the price.
And what about that pricing? Squarespace pricing is competitive with all those other platforms. The basic, personal plan is $12 per month (when you pay a year up-front). It’s worth it.
Enough convincing, let’s jump in.
Getting started — choose a template
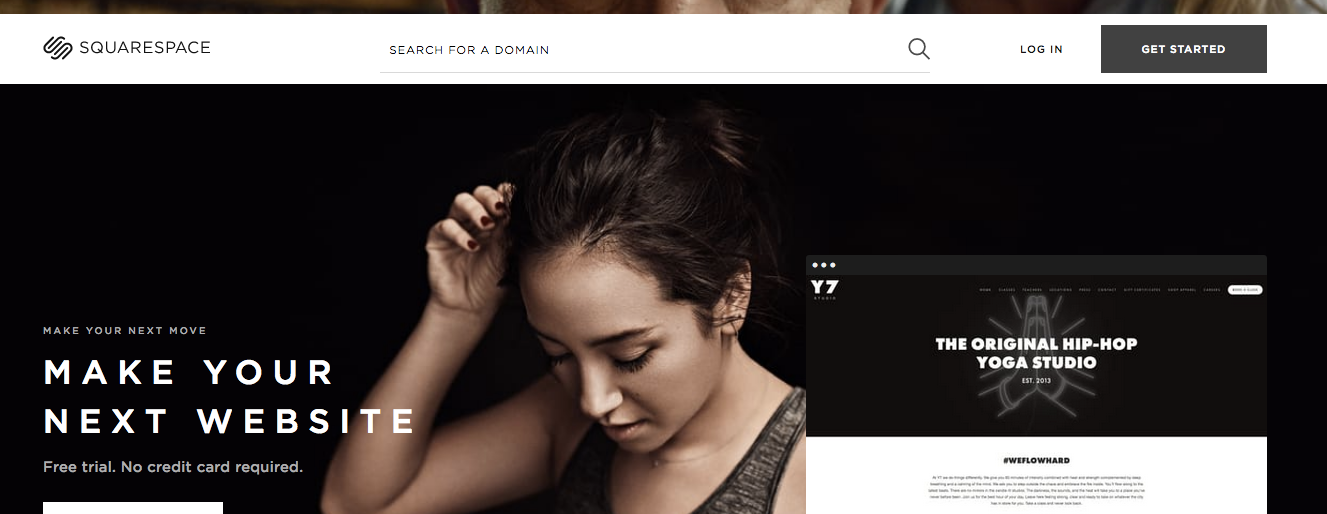
The first thing we’ll do is choose a template. Go to Squarespace.com and click the Get Started button in the upper right corner. (You can always change later, although, it’s best to have a good idea of what your content will be before you change so that you don’t have to re-do a lot of the content work.)
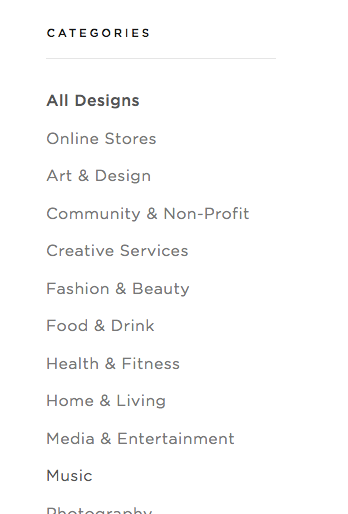
You’ll land on a page that shows all of Squarespace’s templates. This can be simplified by selecting a category of site in the left navigation to show those templates Squarespace has designed specifically for your purpose.
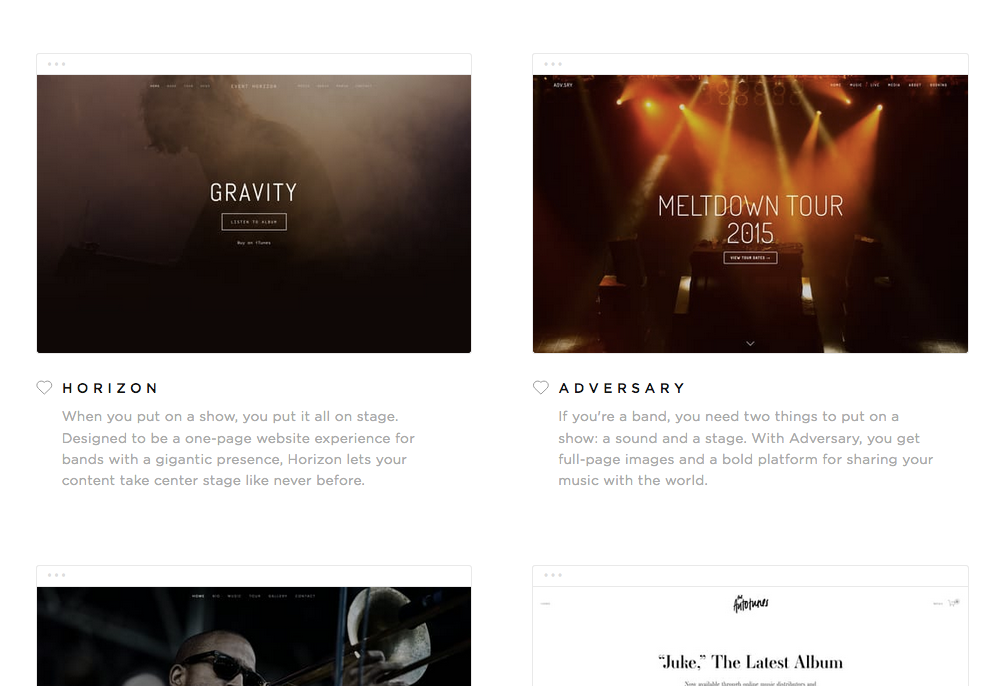
That said, you don’t have to choose a “music” template for your music website. Any template will work but each has some specific features built into the template.
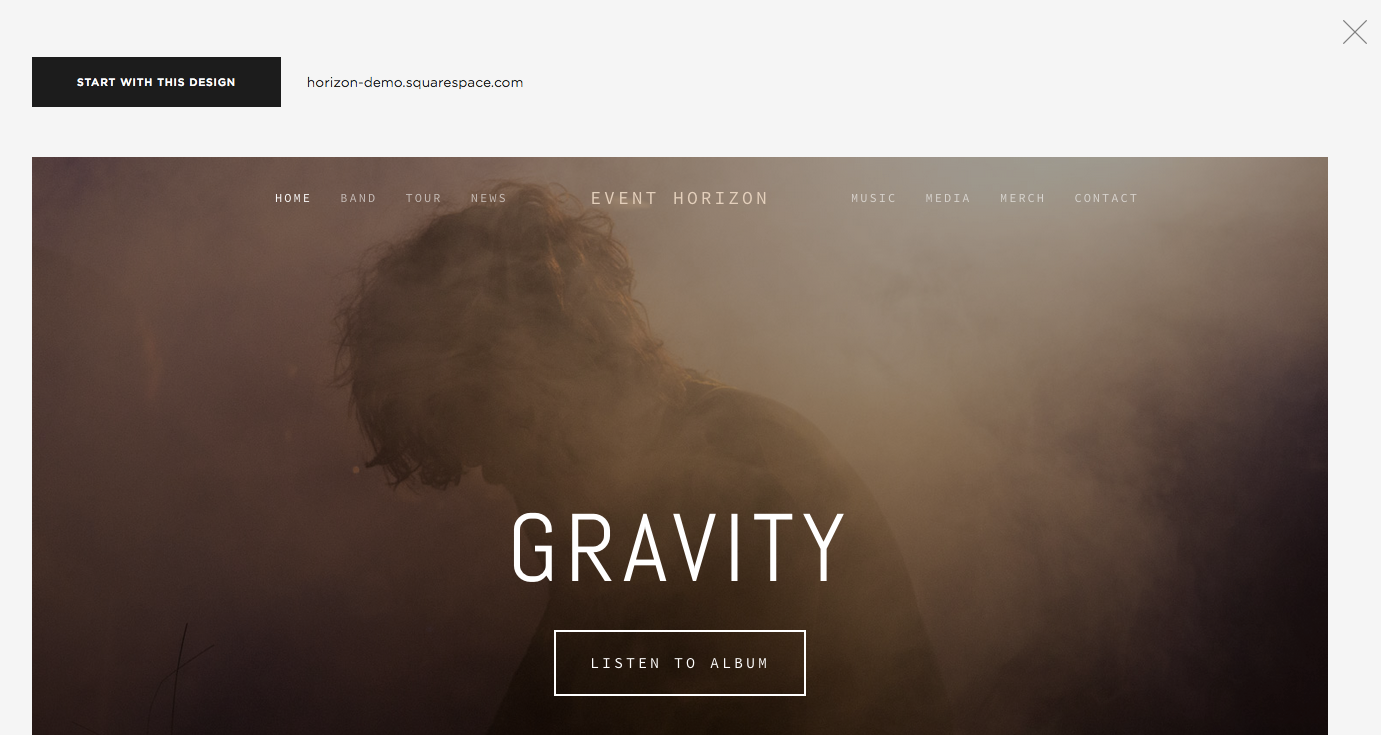
To choose a template just click on it and you’ll be able to preview it.
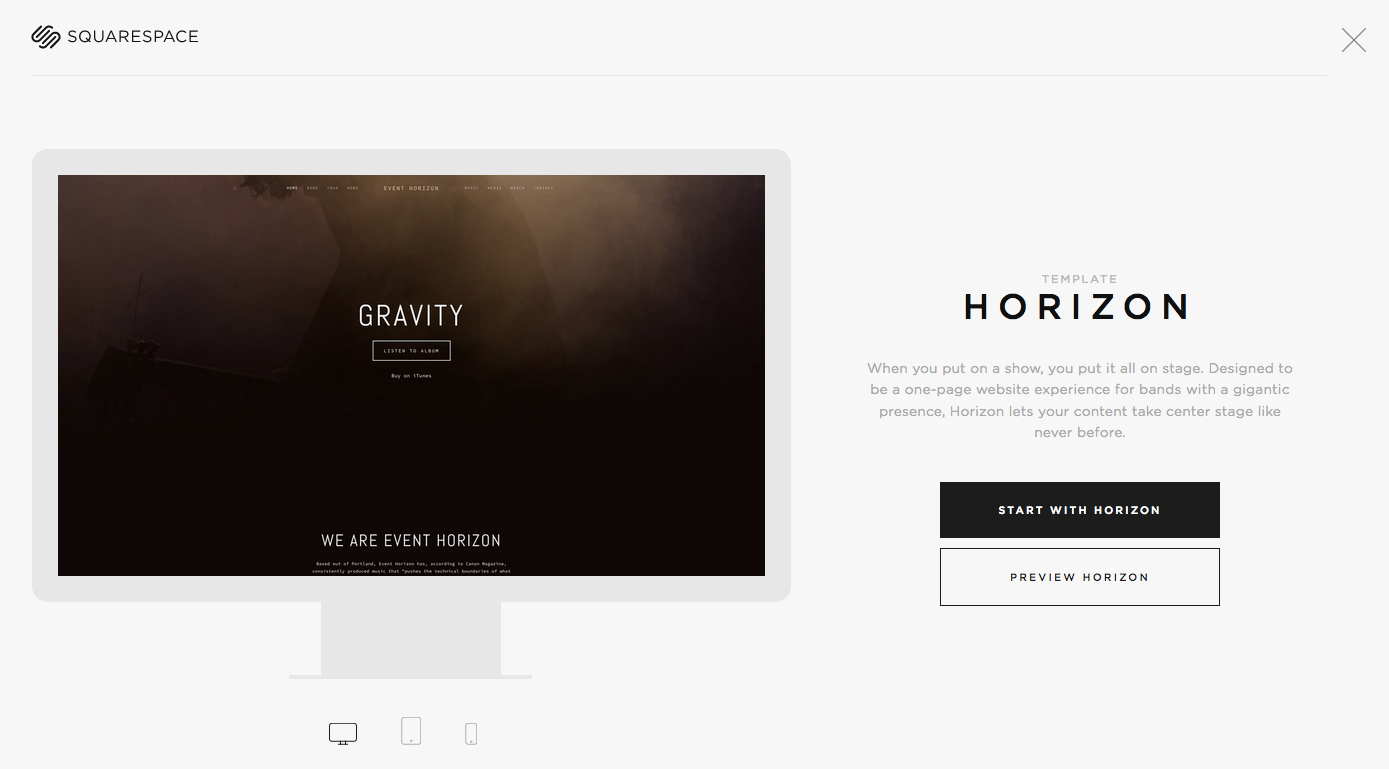
Once you’ve found the template with which you’d like to start, simply click the Start With This Design button.
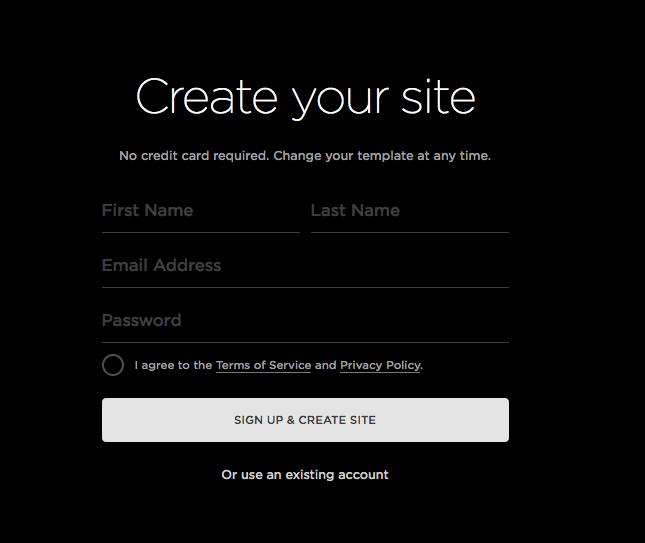
At that point, you’ll create a Squarespace account.
Attention bands: if you’re doing this for a band, you might have a band account that you use to sign up for new services and a way to pay for band services. With Squarespace, you’ll be able to add a user later to be responsible for the payments. So at this very moment of creating a new Squarespace account, you don’t necessarily have to use that band account. You could sign up with your personal email and later add the band account as a user.
Once you’ve signed up, you’ll be asked a few questions about how you’re using this site. Don’t worry this doesn’t impact the template you’ve chose. It just gives Squarespace some user data on how their services and designs are being used. You’ll then choose a name for the site (you can always change that too) and then you’ll jump right into the template.
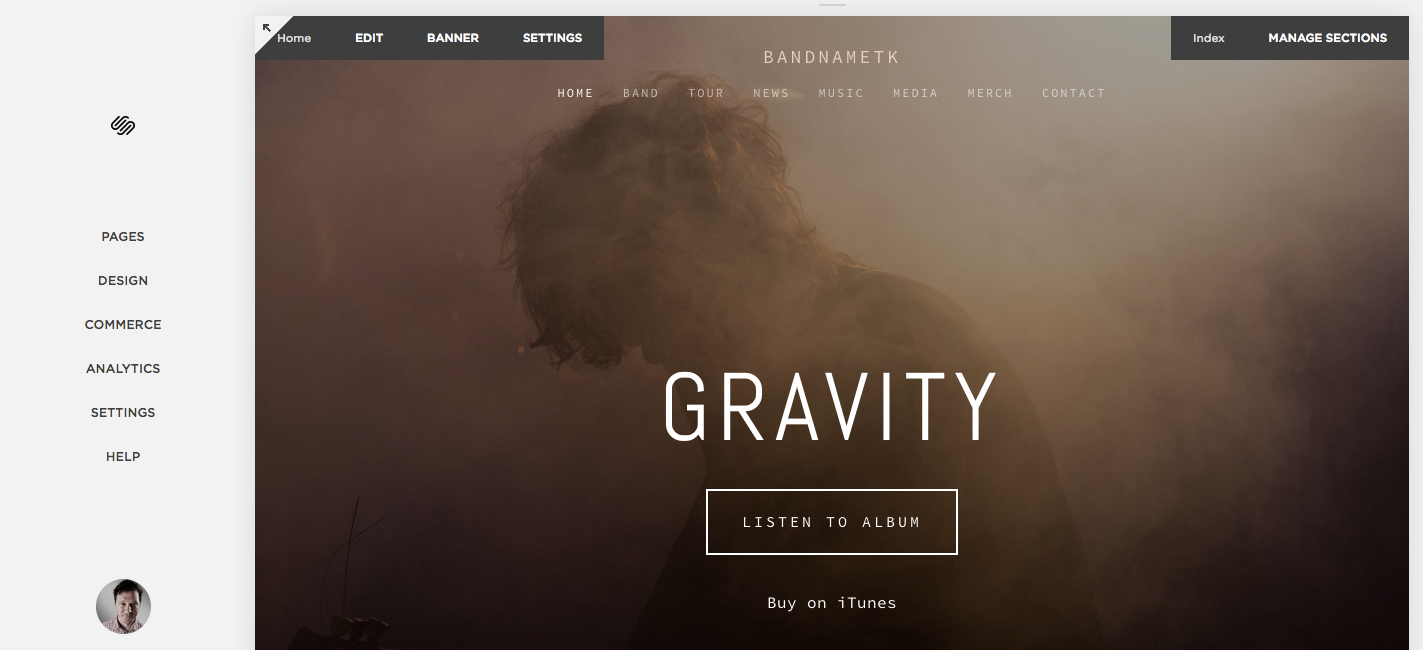
This is the main menu on the left side of the page. It’s fairly self-explanatory. Pages lets you edit the layout and content. Design lets you change the template or make style changes to the design (set your own colors for links and buttons, for example). Commerce manages any products you might be selling through the site. Analytics gives you your visitor data. Settings has all the other things you’ll need to manage the site. That’s where you’ll add your Billing information (when you’re ready to start), connect your social media profiles, add new users, and all the rest.
Editing your content and design
One of the things Squarespace does better than their competition is recognize that content and design are equally important. Or, to state that another way, what we say is as important as how we say it. In Squarespace, even if you start with a “blank page,” you’ll add elements to that page as blocks. These blocks fall into a grid. You can adjust the widths to some extent but you won’t have complete pixel accurate control of the widths and columns because Squarespace wants everything to look its best. It’s the same with typefaces and font sizes: you’re limited to some extent (until you go into the Design menu and the styles there) but it’s in your best interest.
The template you’ve chosen already has blocks created on pages with sample content. First, to get a sense of the organization of the site, click on Pages on the main menu. You’ll see a new left menu appear with the structure of your site:
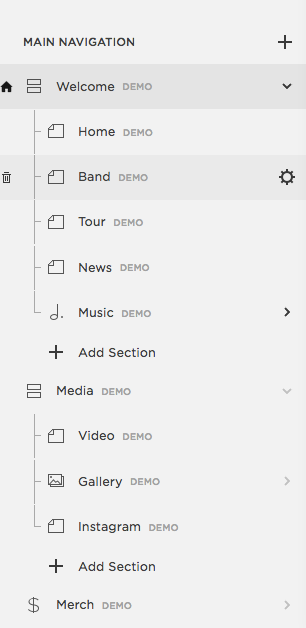
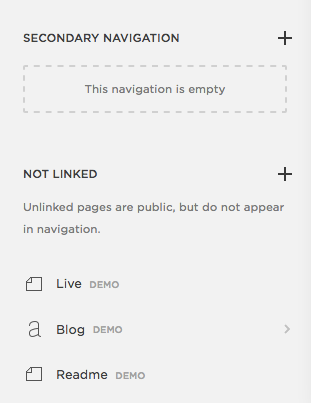
These pages are organized in the order they appear in the navigation. In addition, there are sections for Main Navigation, Secondary Navigation (possibly), Footer Navigation, and Not Linked. If you want to change the order of a page, all you do is click on the page name and drag it. The same goes if you want to move a page or group of pages to the secondary navigation, footer navigation, or just un-link it, click on the name and drag it where you want it. It’s that easy.
Check out the organization of your pages. Click on a few to see what content Squarespace has placed where. When you want to enable one in order to edit it, click the gear icon that appears when you hover over the name. You’ll be taken to the page settings:
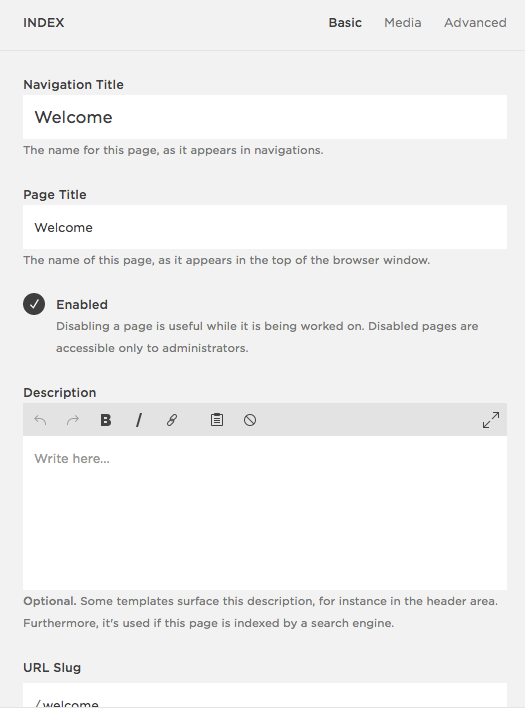
There you can enable the page; change the name, URL, and page title; add a banner (in the media section); add a description. Experiment with all of these fields to see what you can do on each page.
If you want to add a page or section to a group of pages, click on the + sign in the navigation section where you’d like to add it.
When you’re ready to edit some content on a page, hover your mouse over the section you want to edit and find the Edit button that appears.

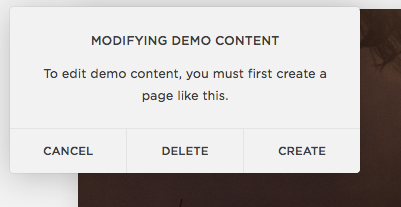
Note: if you haven’t already enabled the page, the first time you click “Edit” on any of the sample pages, you’ll be told you need to “create” that page first. Do it.
When you get into the content editing, the page will open up and allow you to select the copy to edit it. There, you’ll see what kind of block is where on the page.

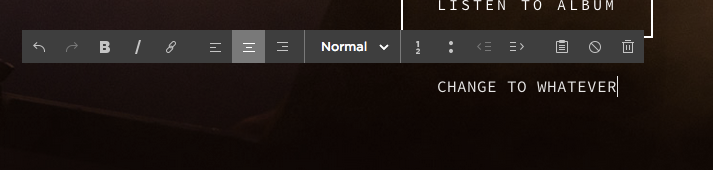
Once you start editing the copy, you’ll get a new toolbar to format the text.
To add new blocks, click the + sign on the page section.

You’ll see a list of the kinds of blocks you can add.
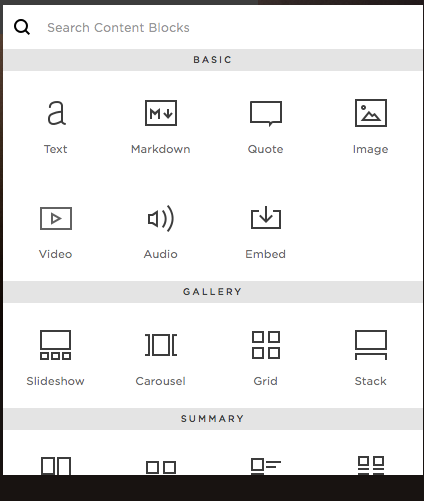
Here is the best part: just click on it and drag it where you would like it on your page. You’ll quickly learn the alignment choices that Squarespace gives you and how to re-size the blocks.
Note: Squarespace has a block for Audio (seen above). Their Audio block works great for uploading music, playing it, creating albums. However, it doesn’t work great for sharing on social media. I recommend instead, using the Embed block (also seen above) and embedding your music from Soundcloud or using the Code block and using the Bandcamp embed code. Soundcloud and Bandcamp make it easier for you and your fans to share tracks across social media and why duplicate work if you’re already using those services?
Another Note: some Squarespace music templates take advantage of the BandsInTown block to show upcoming shows.
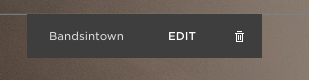
If you don’t already use BandsInTown, don’t worry! You don’t need to. Squarespace has its own built-in Events feature. Or you could use the Blog feature. Or just make a Text block and manually edit your show dates.
The only way to get comfortable with all the options that Squarespace gives you for laying out your pages and editing your content is to experiment like crazy with it. So before you get too attached to this template or your actual content, just play around here. Take notes. Make sketches. Figure out how this is going to work for you. And then go back and start making your changes for real.
Connecting your accounts
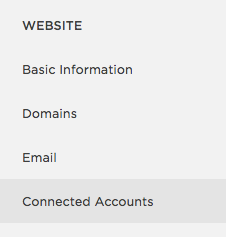
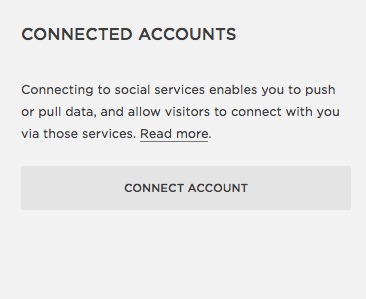
You’re going to want to connect your website to your social media to share the content you publish on your website as well as encourage visitors to your site to follow you elsewhere. To do this, you’ll need to get back to the main menu and click Settings.

Find the Connected Accounts under the Website section.
Then you’ll just Connect an Account.
That will give you a list of accounts that you can connect. Some require a login so that you can automatically post content (like to Facebook and Twitter). Some are just links.
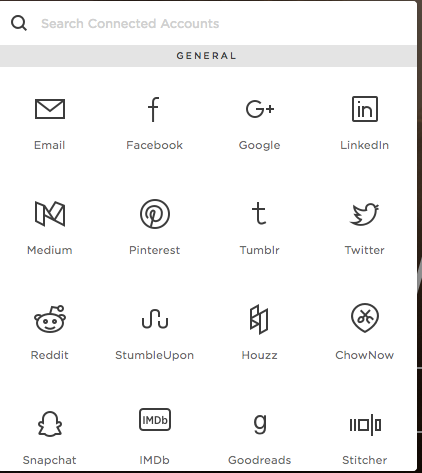
If you don’t see the social medium that you want to connect on the block that appear, search for it…

Once you’ve connected your accounts, you’ll have options within the blog feature to send notifications of posts to social media. It will also allow you to create icons on your site connecting visitors to your social media profiles.
Go live
This is a rushed tutorial in some aspects. Mostly, you’re going to rinse-and-repeat that content editing for a while until you’re really happy. You may realize that the template you originally chose doesn’t work well with your content plan. You can switch and experiment all over. But once you’ve locked that in and you’re ready to publish your site, here is how you’ll do it.
Go back to the main navigation and click on Settings.
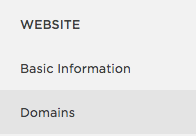
You’ll want to sort out your domain first. From Settings, go to Domains under the Website section.
There you’ll have two choices: Get A Domain or Use a Domain I Own.
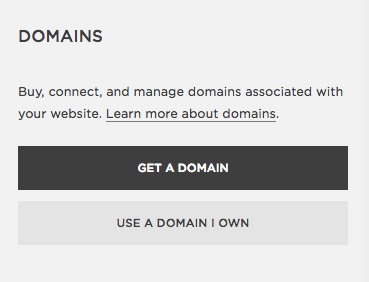
First, let’s walk through buying a new domain. Click Get a Domain. You’ll search for a new domain and take it from there.

Squarespace will automatically add the settings to connect this domain to your Squarespace site. That’s a relief.
If you already own a domain, let’s hope you bought it from a great registrar. Click Use A Domain I Own and you’ll go here.
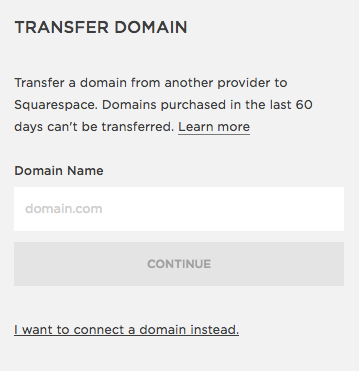
Squarespace here is prompting you to transfer management of this domain to them. I think this is a good idea. Squarespace is reputable and easy to deal with. If you transfer your domain management to them and later change hosts, it isn’t that difficult to unlock your domain and move it again. However, if you are a control freak and want to maintain management of your domain through the registrar where it is currently, click the fine print that reads “I want to connect a domain instead.”
In either instance, Squarespace will ask you to enter the domain and Continue. They can do an initial scan on the domain to see if it is unlocked and direct you to instructions on how to transfer it or connect it. Follow their help prompts at this point if you have trouble.
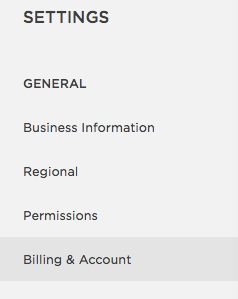
Next, you’ll need to set up billing. In the Settings menu under General, you’ll choose the Billing & Account option.
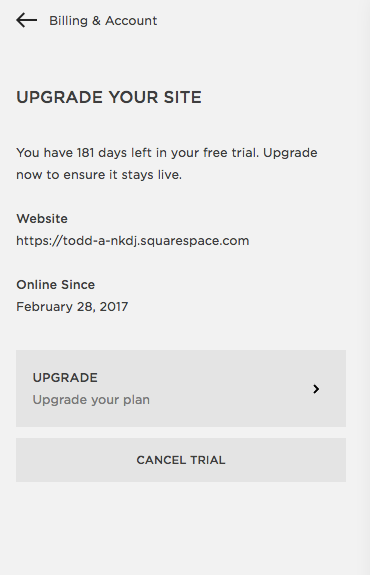
Then you’ll choose the Billing option. You’ll be prompted to Upgrade your Account. This means upgrading from your trial period to a live site. Click the Upgrade button.
Here you get to select a plan. Most likely you only need the Personal plan. The few times I’ve used Professional plans are with clients who have dozens of pages for their sites.
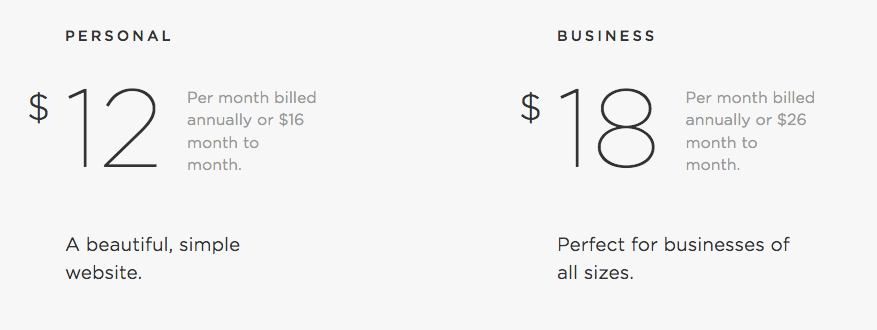
On the next screen, you’ll choose whether you want to pay annually or monthly. The annual savings are worth it, I think. Add your billing details, agree to all the terms and such, and your website is live!
One final step
Check out the Squarespace apps for your mobile devices. You may want to download them to help manage your site. The Blog app is especially helpful if you’re going to blog (something we’ll discuss in a later part of the Guide).
Comments
No comment