


Welcome to Part 5 of the SongCast guide to building your online musical presence. If you’re late to the party, here is a recap of past weeks: in Part 1 I introduced the guide; in Part 2, we walked through building your website; in Part 3, we showed how to sell your music everywhere online; in Part 4, we covered setting up your social media. Here, we’re going through everything you need to know to set up and run an email list.
To get you up and running as quickly and solidly as possible, as I explained in Part 2 of the guide, I’m not going to cover all your options. I’m going to tell you to use the best-in-class tool. If you want to explore other email list options and ignore the experience and expertise of a professional who has been building websites for twenty years, go with Kabbalah Monster. But if you want to get started quickly and not have to worry about anything, use MailChimp.
MailChimp is the best-in-class email marketing solution for bands and musicians, period. They way they handle pricing is by volume of emails you send. On the Forever Free plan, you can have up to 2,000 subscribers and send 12,000 emails per month. Bear in mind, that 12,000 number is each individual email. So if you actually had 2,000 subscribers, you could still send 6 emails to them each month. That’s a lot of emails really. And once you get over 2,000 subscribers, you should be making enough money somewhere to afford the $10 per month plan.
There are two parts to this guide to email: here, we’ll go through the three main components of your email setup. In Part 6, we’ll talk about connecting your email list to your website, adding subscribers, what to send and when.
Get started
Go sign up for MailChimp. As with other things we’ve discussed, you might want to use a band email to set this up so that everyone can share.
The different components: lists, templates, campaigns
Once you’re signed into MailChimp, there are three main components you need to understand: lists, templates, campaigns. I’ve seen many people screw up the three. So I want to be careful to tell you how to do it right so that in six months or a year, you’re not in a huge mess.
Lists are simply the list of your subscribers.
Templates are the layout design (you know, the “template”) you use for your email. These are layouts that you re-use.
Campaigns are the actual emails you send to your subscribers.
Hopefully, it’s pretty intuitive how all this works together. When you’re ready to create an email, you’ll start a Campaign, choose a Template, and select the List to send to.
Lists
Right now, on the Forever Free plan, you just need one list. When you get more advanced, you can make “segments” of a list but 99% of the time, you as a band or musician only need one list. I’ve watched many people duplicate their list for a one-off email that they only want to go to certain people or instead of properly importing new subscribers into their main list, make a new list every time. Please don’t.
Subscribers add up. For example, if you are like one of my clients and have 1200 subscribers to one list then you make a new list (instead of a segment) with 900 of those subscribers, now you’ve gone over your allotted 2000 subscribers.
If somehow, you become a large enough band that you’re touring nationally or internationally, then it’s time to segment your list. At that time, you might want to send only your Canadian fans your Canadian touring schedule. But even then…who cares? Willie Nelson tells me every time he plays a show anywhere in the world.
When you’re touring internationally and need segmentation, hire a consultant to help you.
Click on Lists in the main navigation and we’ll make a list.

When you’re on the Lists page, click the Create List button. You may be asked if you want to create a group. You don’t. Click the Create List button again.
Then you’ll get a form to fill out.
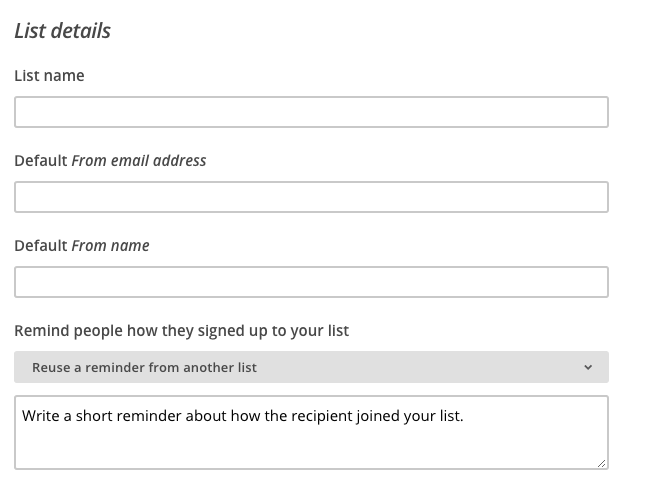
At the bottom of the form, you choose when you would like to be notified of new subscribers. Select what’s best for you.
Once you save, you’ll land on the View Contacts screen.
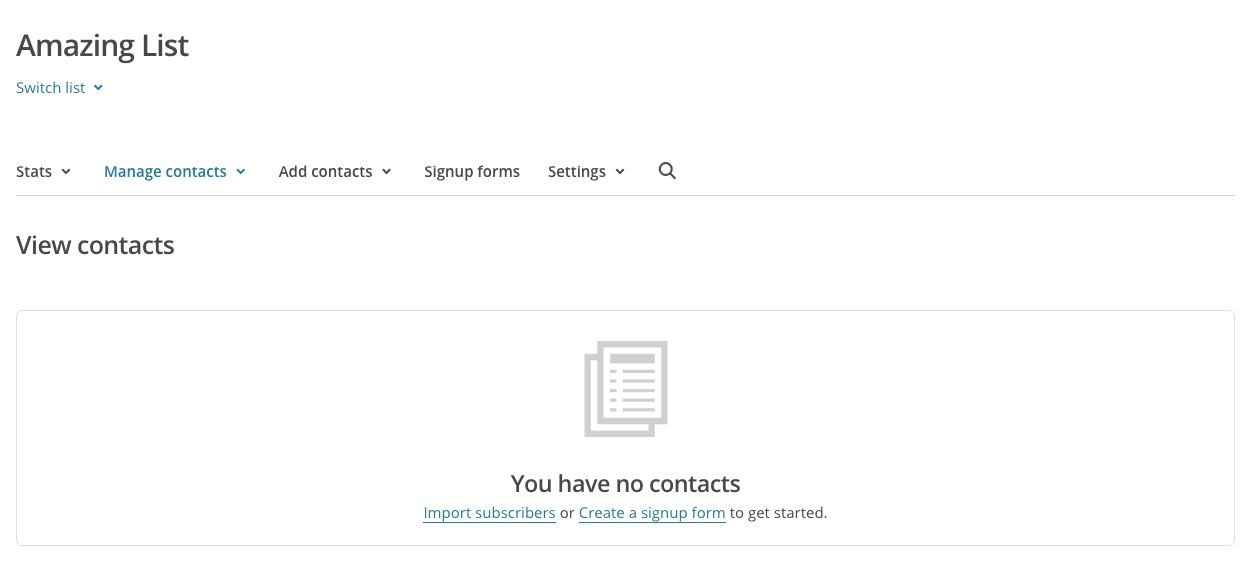
We’re going to assume you don’t have any subscribers in CSV format, so create a signup form by clicking on that link.
On the next screen, choose the General Forms:

Here you’ll find your sign-up form on the left and the fields you can add on the right.
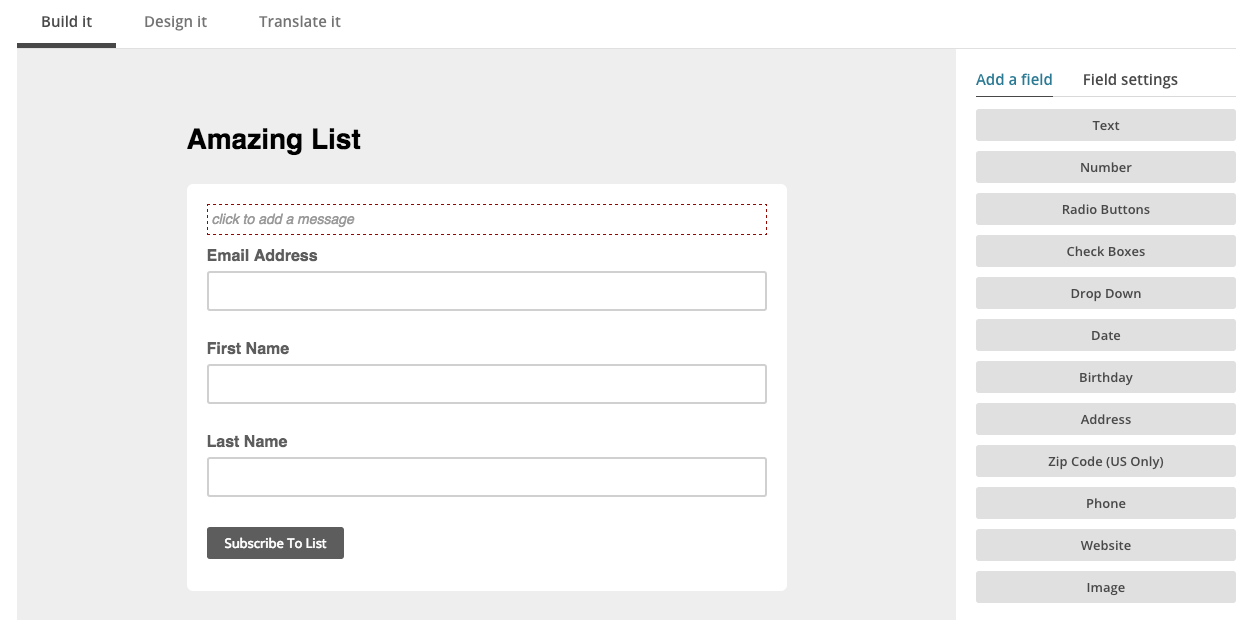
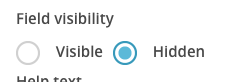
Here is the easy part: the fields on the left are the only ones you need. The more fields you ask for, the fewer people will fill out the form. In fact, I’d click on First Name (and then Last Name) in the form…

And mark the field Hidden:
You’ll see something like this:
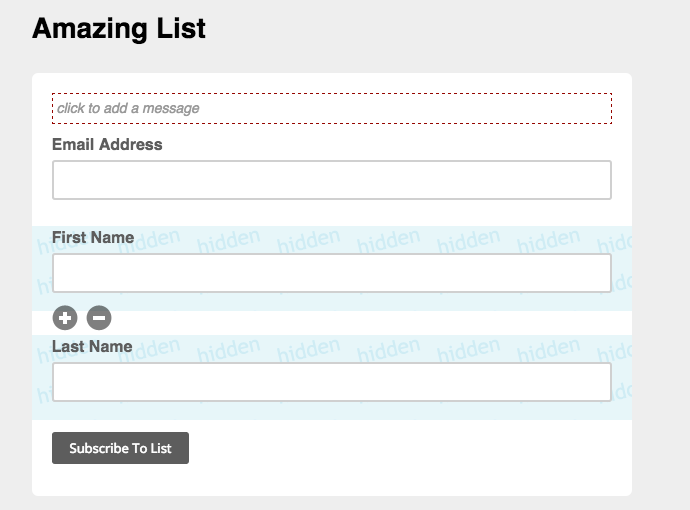
Above the form, you’ll see a signup form URL that you can share anywhere on the web (we’ll talk about embedding it on your website in the next article).
Now add some names to the list. Click Add Contacts and a drop-down appears:
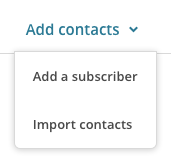
Click the “Add a subscriber” link. You’ll get a really simple form to add subscribers one-by-one.

Make sure the people you add gave permission to add them. Once you get more subscribers and more experience with MailChimp, you can create a CSV spreadsheet and import it. But for now, it’s easy to add one subscriber at a time here.
Templates
The template is the basic layout that you will re-use for the emails you send. What I’m saying is: DO NOT MAKE A NEW TEMPLATE FOR EVERY EMAIL YOU SEND OUT. Please.
You really just need one template. If you click Templates across the header navigation of MailChimp, you’ll go to a repository of customizable templates. Click it.

Then click the Create Template button.
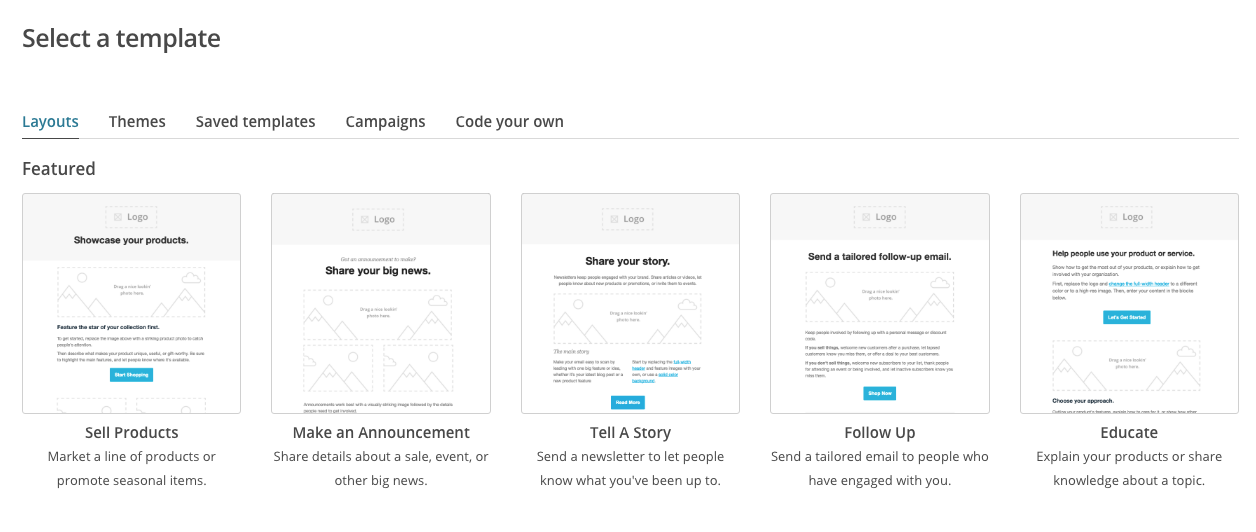
Here is where it gets super easy. You can pick a starter layout that will usually have all the elements you need.
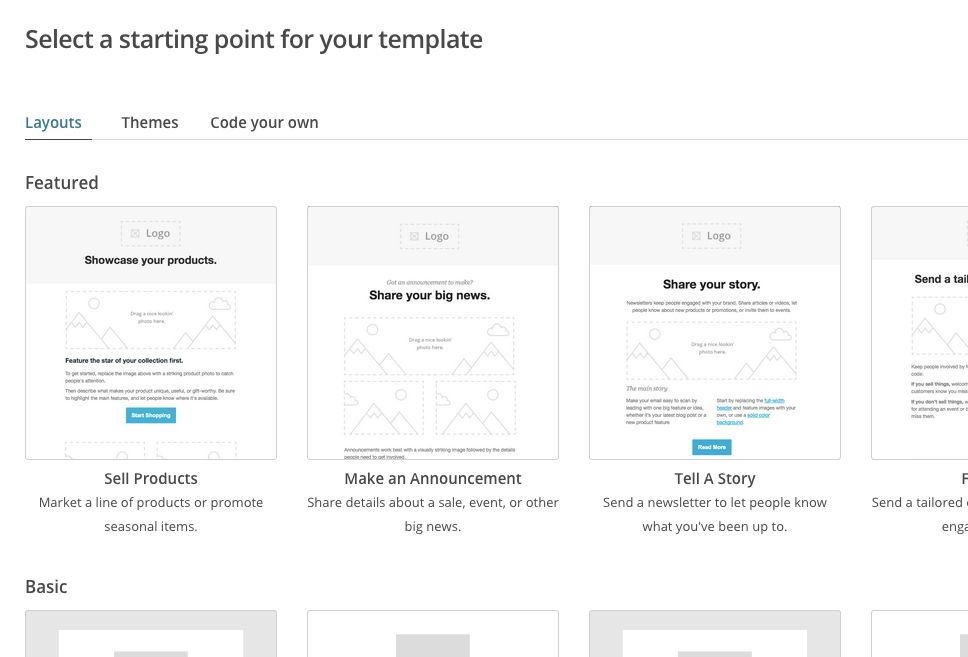
You’re going to want to experiment here. I like starting with the Basic layouts below but if you want more prompts on emails styles, check out the Featured layouts above.
Note: this is not your template yet. What you’re going to do is pick a layout here, make a few tweaks and save that as your first template.
Another Note: whenever you’re creating a template, you don’t want to add any content or features that are particular to a certain email message. Templates should be the structure and features that appear on each email that uses that template. For example, my Hey Todd A main template is simple:
- title
- featured image
- message body
- links to my social media
Whenever I create a new email, I select that template, add an image, and write my message in the body. I don’t have to add my social media links every time because they are part of the template. Template features are persistent. Does that make sense?
So grab a basic layout to play with f0r now:
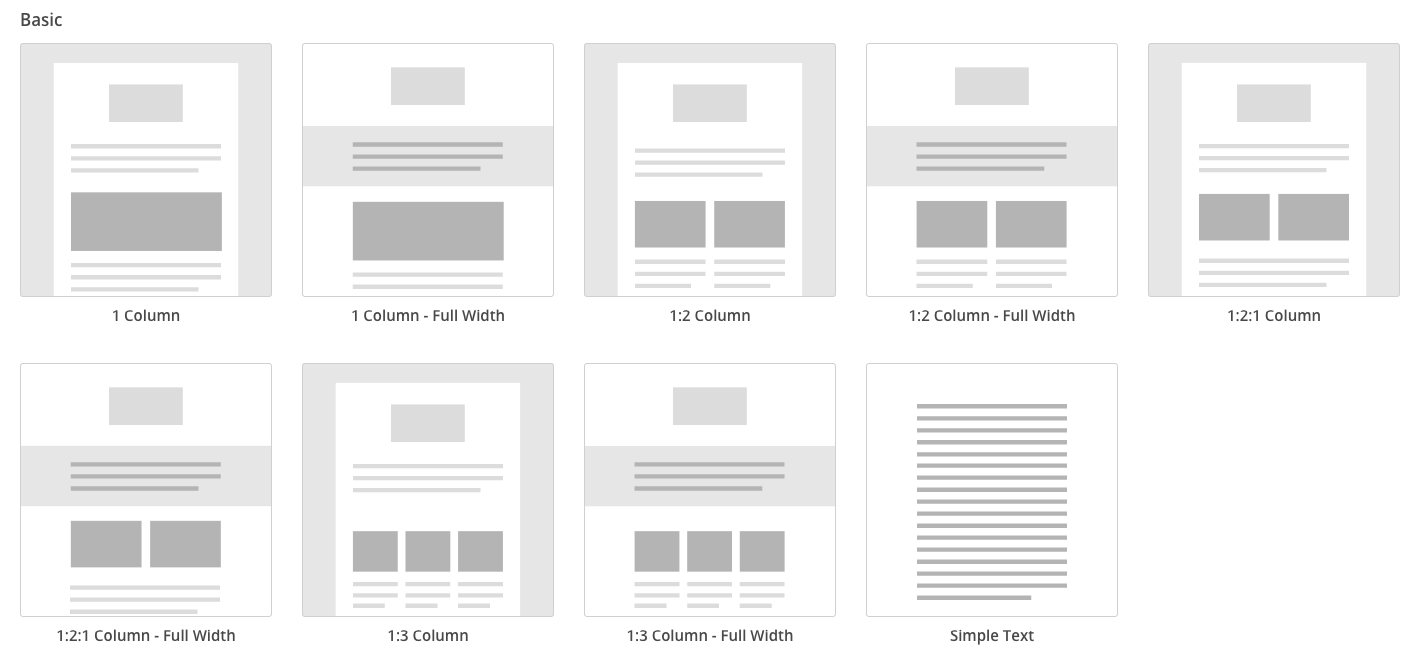
As you’re choosing, think about the usual content you’re going to put in an email. For example, I’m going to suggest you send a monthly email later. Let’s say you’re in a really industrious band. You record a new song every month, play live every month, and always sell t-shirts. You may want one area for tour dates, one area for new recordings, and one area to plug merch. So you might choose a “1:2 Column” layout and put your new recording in the top (“1”) section and your tour dates and merch call out in the 2 columns. If you only occasionally do any of those things (like most of us), you might start with a 1 column layout.
I’m going to select this one:
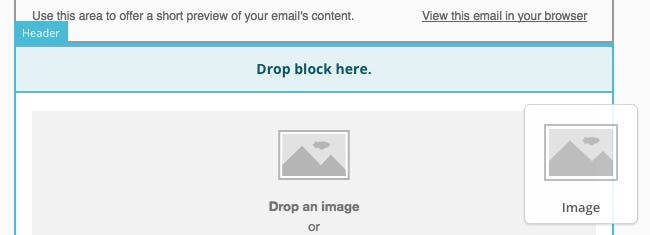
Once you select one, you land on the design screen. Remember, this isn’t an actual email that you’re going to send. This is a template. So don’t put any specific content into it. Just the features you’ll need on future emails. On the design screen, the items on the right are blocks that you simply drag into the layout on the left.

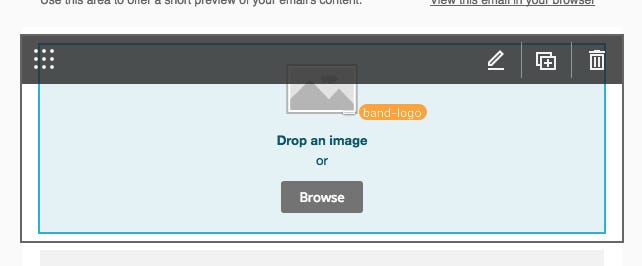
I’m going to put a band logo above the featured image at the top. So I grab the “Image” block on the right and drag it above the featured image on the left.
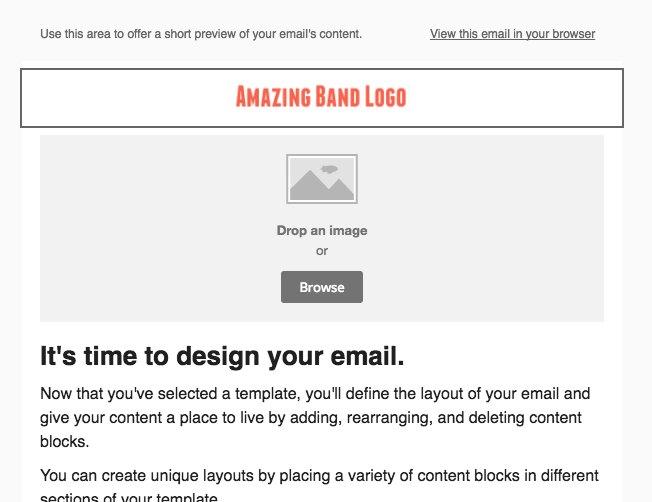
I want that band logo to appear on every email. So it is part of my template. In MailChimp, I can just drag my image where it says “Drop an image.”
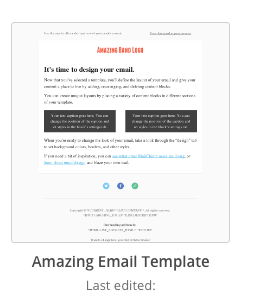
Now I have this as a template:
The layout I chose has social media icons above the footer. But those links are not set yet. So I click the section to add them.

I add my links in here and customize the style. That’s all I need for my template, so I click the Save and Exit button in the bottom right.

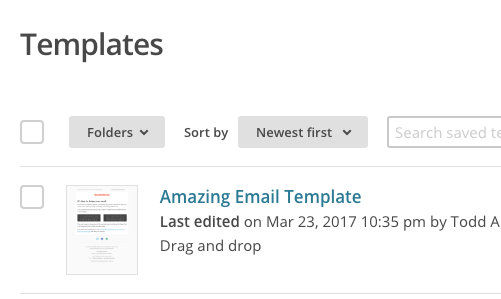
Now you have a new template in your account.
Let’s send your first email.
Campaigns
Your usual interaction with MailChimp will go like this: you’ll login and click Campaigns to create a new email. You can schedule them in advance or send them immediately. Click it:
There, you’ll click the Create Campaign button and get this form:
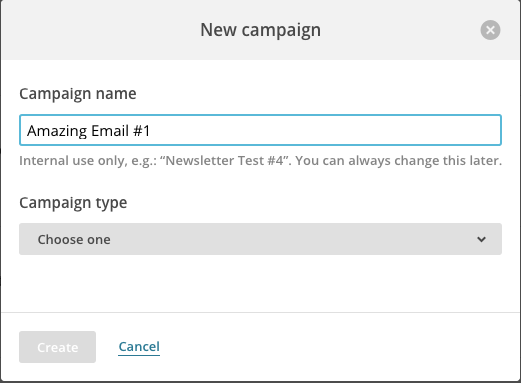
Name it and select a campaign type. You’re pretty much going to want a Regular campaign every time.

On the next page, you’ll choose the list to send you. You should have only one.
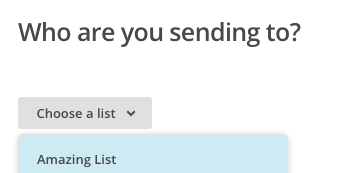
Then you’ll choose the Entire List.

You’ll navigate to every next step with the menu at the bottom of the screen.

These are the steps you’re going through: You’ve chosen your recipients. You’ll complete the setup, select a template, design (add the content and images), and then confirm.
So once you click Next, you’ll get the Setup page.

Your Campaign name can be whatever helps you know what it is but the Email Subject is what your subscribers will actually see. Read MailChimp’s tips on writing a good subject line. Also, go with your gut. You know what kind of emails look like spam and which don’t. Don’t write something with a lot of exclamation points or ALL CAPS. Write a subject you would want to read.
In the Setup, you’ll also choose what tracking you want to do and if you want to share with social media. The defaults are great if you don’t know what you want. But you’ll probably want to connect your social media now or in the future so that you’ll automatically post to social media when you send a new email.
Click Next and we’ll choose a template.
This screen will look familiar. It’s just like the one we saw when we set up a template. The point is, you can start all over on a template here if you want. But you shouldn’t have to because we created one. So click “Saved templates.” You should see the template you saved earlier:
Once you select it, you’ll automatically advance to the Design stage where you write your email and add your content. The screen looks like the template setup screen.

Now, you’re just going to click on the section you want to edit. I’m going to upload a featured image for the top of my email and then start editing the top section by clicking on it.
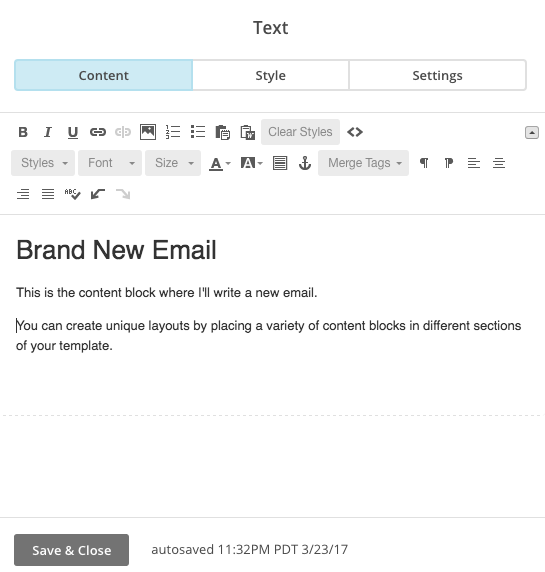
I’ll see the preview of my email appear as I edit.
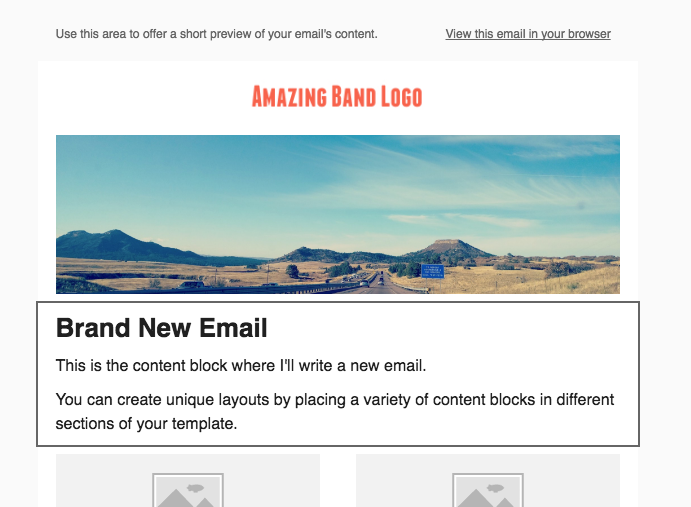
At the top you’ll see this default section:

Make sure you edit that with a friendly preview of your email that’s a little different from your Subject line (e.g. “Here are our new tour dates!”)
Once you’ve written your email, click the Preview and Test button in the top right. Then click “Enter preview mode.”

You’ll get to preview what your email looks like on a laptop/desktop and in mobile views. If you see anything that sucks, go back and fix it. Once you’re happy, close the preview and click Next to confirm everything.
You should also click ‘Send a test email” and add your own email address so you can see what it will look like in a real email program.
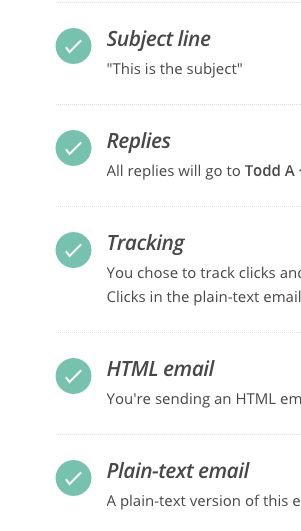
On the Confirm screen, you’ll see a run-down of all the requirements for the email.
Your Social Cards are never enabled until this stage. That’s a little preview of the email that will be seen if you or anyone else shares the email on Twitter or Facebook. So it’s a good idea to click Edit and enable this.

Once all these checkboxes are green and ready-to-go, you can Send immediately or schedule for later.
If you choose to schedule the email, you’ll get a little scheduler at the bottom of the page:

Set your date and time and click Schedule.
That’s it. That’s your first email done. In the next article, we’re going to connect your email list to your website, talk about getting subscribers, go over the best times to send, what you should send, how often to send, and a bunch of other details.
Comments
No comment