


In our continuing guide to building your online musical presence, we’ve hit one of the most important and complex pieces: your mailing list. If you haven’t read Part 5 of the guide, do that now and come back here when you’re ready. You can get the entire guide so far here:
Growing your subscriber list
We covered how to set up your List in MailChimp in the previous article in this series. Let’s cover how to add to that list.
The old fashioned clipboard
I’m not knocking this method at all. I love it. It’s untechnical, easy-to-understand by everyone involved, and simple to convert to your MailChimp list. Every band should have a clipboard at their merch table with an email sign-up list. I only have these notes:
- Don’t ask for too much information. Just an email is sufficient. If you want a name and phone and zip code, you’re not going to get many responses. The same dynamic operates online. Just ask for an email.
- After each show or event where you collect emails, add those names to your list as soon as possible.
- After you add the names to your List, throw away the paper with addresses on it. Whenever I see a list that clearly has dozens of names from previous shows, I feel nervous for my own privacy. Do everyone a solid and start a blank sheet at each new event where you’re collecting names. Tear up and throw away the old sheet once you’ve entered the email addresses to your list.
Through your website
You’ll also want to add a subscription form to your website. Ordinarily, there would be a bunch of HTML gibberish that you would need to embed a form but you used Squarespace to build your website so it’s way easy for you.
It’s a good idea to put your subscription form somewhere on your website where it is out of the way and on every page. I’m going to show you how to add it to the footer. However, you may also want to add it to your homepage in a prominent way so that visitors realize that you have it. Squarespace’s easy drag-and-drop layouts make it the exact same process to add to your homepage as your footer. The only difference is that your footer is the same on every page.
So login to Squarespace and go to Pages.
Scroll down on any page to your Footer. Click Edit.

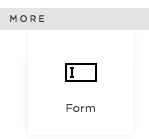
That will open up your Footer. Click the + to add a block to the Footer.

Then choose the Form block and drag it where you would like it in your footer.
You’ll see this window over your footer.
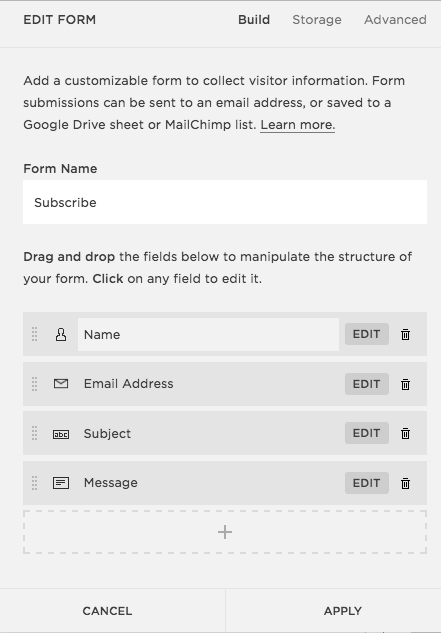
This is your clipboard and the less information you ask for, the more subscribers you’ll get. I.e. delete everything except the Email Address. To remove the other fields, click the little trash can icon. It’ll make sure you want to delete those fields.

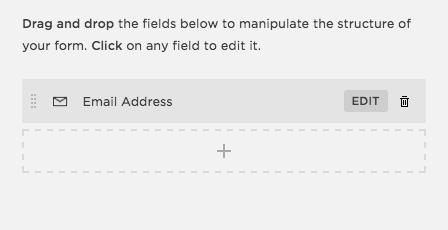
Yes, you do want to remove them. When you’re done, you’ll have this.
Now, you have to make sure the form adds the email addresses of subscribers to your MailChimp list. Click the Storage option at the top of the window.

You’ll see this:

As you can guess, you need to connect to MailChimp. But first, delete the connection to your email address that appears by default. Click the little “x” on it. Then click on the MailChimp box to connect there.
When you do, another window will open to prompt you to login to MailChimp.
Once you’re connected, the MailChimp box will show you’re connected and give you a drop-down selector to choose which MailChimp List of yours that you would like to use. Hopefully, you have only one right now.
Once you’ve connected to a List, click the Apply button to apply your changes to the form.

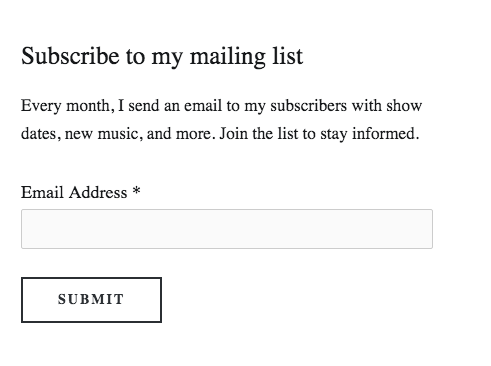
So now I have my simple subscription form:

That doesn’t tell my visitors much about what that form does. So I hit the + again, chose a Text block, and dragged it above the form. Then in that text box, I wrote a little something to explain why someone should subscribe to my list.
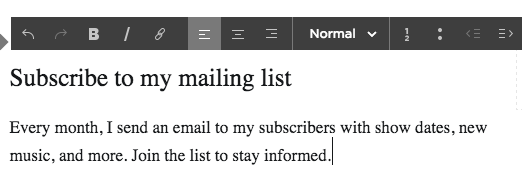
Once I save that, I have a nice subscription form in my footer. You can repeat these steps on any page (like your homepage) to add a subscription form there.
Through social media
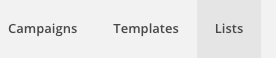
It’s also a good idea to share your subscription form through social media from time to time (like the day before your monthly email goes out). To get an easy way to do this, go to Lists in MailChimp.
Choose your list.

Click on Signup forms.
Go to General Forms.
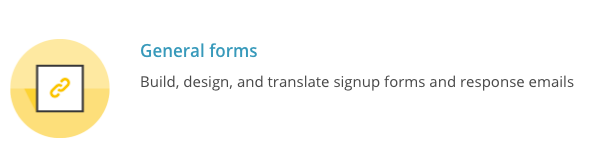
You’ll find a short signup form URL that you can share anywhere to link people to your email subscription form.
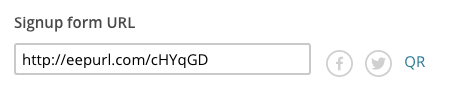
You’ll notice that there are buttons right there to share on Facebook and Twitter. You even have an option to grab a QR code that you could save and add to flyers or anything else to give people a quick route to your subscription form.
Setting your schedule
Once you’re familiar with all components of your mailing list (the List, Templates, Campaigns, and how to put them all together), you should think about a regular schedule for your emails. Here is an easy rule: monthly with exceptions for when you have a show or event to promote.
What I mean is this: have a regular monthly email that comes out no matter what. Announce your tour schedule, your releases, new YouTube videos, or just write a personal note. When you have an important show or event, send out an email the week of that event. Don’t send it on the day of the event. Man, is that annoying. Let people have a minute to make plans to attend.
WHY you need a schedule is simple: you want to keep your fans engaged. If you go too long between emails, people might not care about your story anymore. Send too many emails and people will unsubscribe or mark you as spam.
Do NOT send emails to your list more often than weekly. I.e. if you have several important events over several weeks, look at a calendar and figure out the best way to convey all the information in weekly emails. Social media is what you’ll use for more frequent reminders.
Ideally, you should experiment with some delivery times for your regular monthly email. LINK TO MAILCHIMP REPORTS The general rules regarding the best days to send emails are:
- Mondays —terrible, people are overwhelmed;
- Tuesdays — all other marketing emails go out;
- Saturdays and Sundays — no one cares;
- Fridays — usually a lost cause;
- That leaves you with Wednesdays and Thursdays. Everyone is competing for attention on Tuesday, Wednesday, and Thursday.
There is a general assumption that emails are best scheduled for delivery in the pre-dawn hours so that they are in everyone’s inbox when they wake. Bear in mind: timezones. An 8am Pacific time email arrives at 11am on the east coast.
All that said…
Let me throw another case out there: sometimes you should send an email when you damn well please. Forget schedules. Forget overloading inboxes. Often, the best thing you can do is be human. And humans often send emails at odd hours. I’ve been told.
MailChimp lets you do this in a really easy way with the Snap app. It’s Instagram-like in its simplicity. You can snap a photo, write a short note, and blast your list. This is a really friendly way to tell your list what’s going on in your life or your band’s life without sounding all “promote-y.” Get it on iTunes and Android.
This is what I do: I have one project for which I create a calendar months in advance; I create the emails and schedule them for weekly delivery (I break the rules and send on Monday morning). I have another project for which I aspire to send a weekly (Friday morning) email summarizing what I’ve published that week. I use Snap to send spontaneous emails when I realize I haven’t sent a weekly in a while or when I just want to say, “hello.”
Evaluating your results
I’ve written about a proper respect (and distance) from reporting in an article called “Your year in music by the numbers.” This is what I think you should take away from that article:
I think it’s important to keep perspective and keep making things rather than measuring every reaction to every post or release you make.
This rule applies to your email campaigns and list as well. (Just as it does to your social media follower counts and shares.) Don’t get so caught up in the numbers that you ignore what you should be doing which is making music.
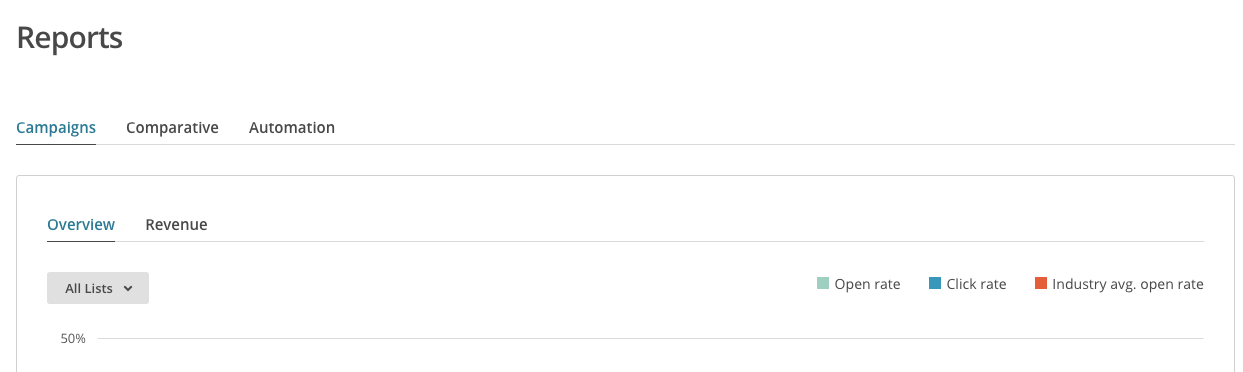
Here is how to look at those numbers in MailChimp. Click on Reports:
You’ll see a kind of daunting graph (that doesn’t have anything on it yet).
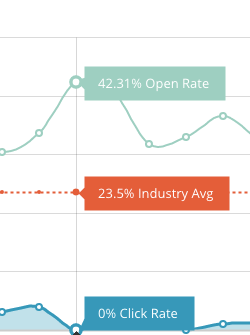
But once you’ve sent an email (and especially after you’ve sent several), you’ll get a graph of the performance of those emails. When you hover over one of the emails represented there, MailChimp will help you understand those numbers.
When you scroll down a bit, you’ll find a list of all your campaigns with the bare numbers of opens and clicks.
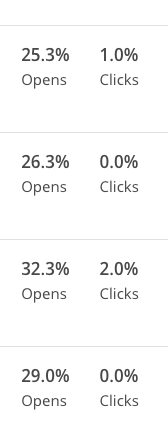
Numbers on mass emails often can make more sense than those of social media. Opens and clicks are exactly what they sound like. Opens are how many people opened the email at all. Clicks are how many people clicked on a link in that email.
Check your Reports at the end of the day when you’ve sent out an email (e.g. send at 5am, check reports at 9pm) to see how your opens and clicks look. Next month, schedule your email for a different day and different time. Compare the opens and clicks. Change the day and time for the next month. After 6 months or so, you’ll see when you got the most opens and clicks.
Think about the clicks in each email. What words did you turn into the link? Was it something boring like “click here to see it”? Or something more interesting like “Watch us run through the streets naked”? Adjust your links to sound interesting. Check your clicks in the next report. Congratulations, you’re a marketing pro.
(To check your open rates and the general health of your list wherever you are, you might like the MailChimp app.)
Bear this important note in mind: numbers can mean different things for everyone. MailChimp has a pretty cool feature to show what the “industry average” is for lists (only works if you filled out an “industry” in your profile). But 1000 subscribers on your list and only 20 opens every month, might translate to your shows being packed and your downloads selling regularly. Those 20 people may be influential with their friends. Don’t get tripped up with percentages and the gross numbers of the list.
Likewise, don’t get tripped up by having perfect exquisite emails every month. Your email list is a communication medium first, not an artistic canvas. As I said in the introduction to this guide:
Our web presence isn’t a mad work of art. It can (and should) be creative but it is really an answer to the questions: Who are you? What do you do? Where will you be? A web presence is the solution to a common problem. As such, there are many technical structures and services already available to solve that problem.
This is the theme of this entire guide to your web presence and just as relevant to your email list. The email list is a solution to the problem of telling fans where you’ll be and what you’re working on. MailChimp is the simplest, most powerful tool to apply towards that problem. Don’t let the numbers or the gimmicks or perfectionism get in the way of communicating with your fans regularly.
In the next part of the guide, we’re going to look at how to schedule all your updates to get them working in concert with one another. “Auto-pilot” is going to be our goal.
Comments
No comment